Making a Stand-Alone Gentlemen's Closet Out of Old Bi-Fold Closet Doors
So I recently replaced my old closet bi-fold doors with some
nice plantation shutter doors. Because the
plantation shutter doors had a few nicks and were missing some hardware, they
were deeply discounted (words I love to see).
Nevertheless, with the existing hardware from my old doors and a bit of
sanding, I made the new plantation shutter doors work.
But what to do with the old doors? I could make a stand-alone pantry, or a
bathroom linen closet, or a gentlemen’s closet.
I chose the gentlemen’s closet as some of the space in my closet is taken
up by too much winter gear.
Since the old doors were all equal in measurement, the job
was super easy with very minimal cutting.
Here are the steps:
(1) Remove all existing hardware (hinges, screws, etc) from the
old doors.
(2) Lay the old doors on a flat service (in my case, I had two
sets of bi-fold doors for a total of four panels).
(3) Take one door and lay it flat on its back (this will be your
back panel).
(4) Take the other two doors and place them on top on the back-panel
door (perpendicular). These are your side panels.
(5) Use small metal brackets to mount the side doors to the
back-panel temporarily or, (if it doesn’t bother you), use 2 inch wood screws
mounted from the back panel into the
side panels (these screws will be visible, but then again, the backside of the
piece is not something usually seen).
(6) Now, the tricky part.
Measure (what will be the top and bottom bases) of your new stand-alone
closet and cut two pieces to exact measurements. (If you have four panels, you
can use the remaining fourth panel to simply cut the top and bottom bases and
additional interior shelves with only one cut per piece!)
(7) Once the pieces are cut, bolt (or screw) the bottom base by
using 2 inch wood crews. Do the same for
the top piece. Use “L” brackets for additional reinforcement if desired (I
chose to do that since my old doors were partly-made of a hollow shell). Attach
the “L” brackets from the front of the side panels to the front of the top and
bottom bases, respectively.
At this point, your stand-alone closet has taken shape.
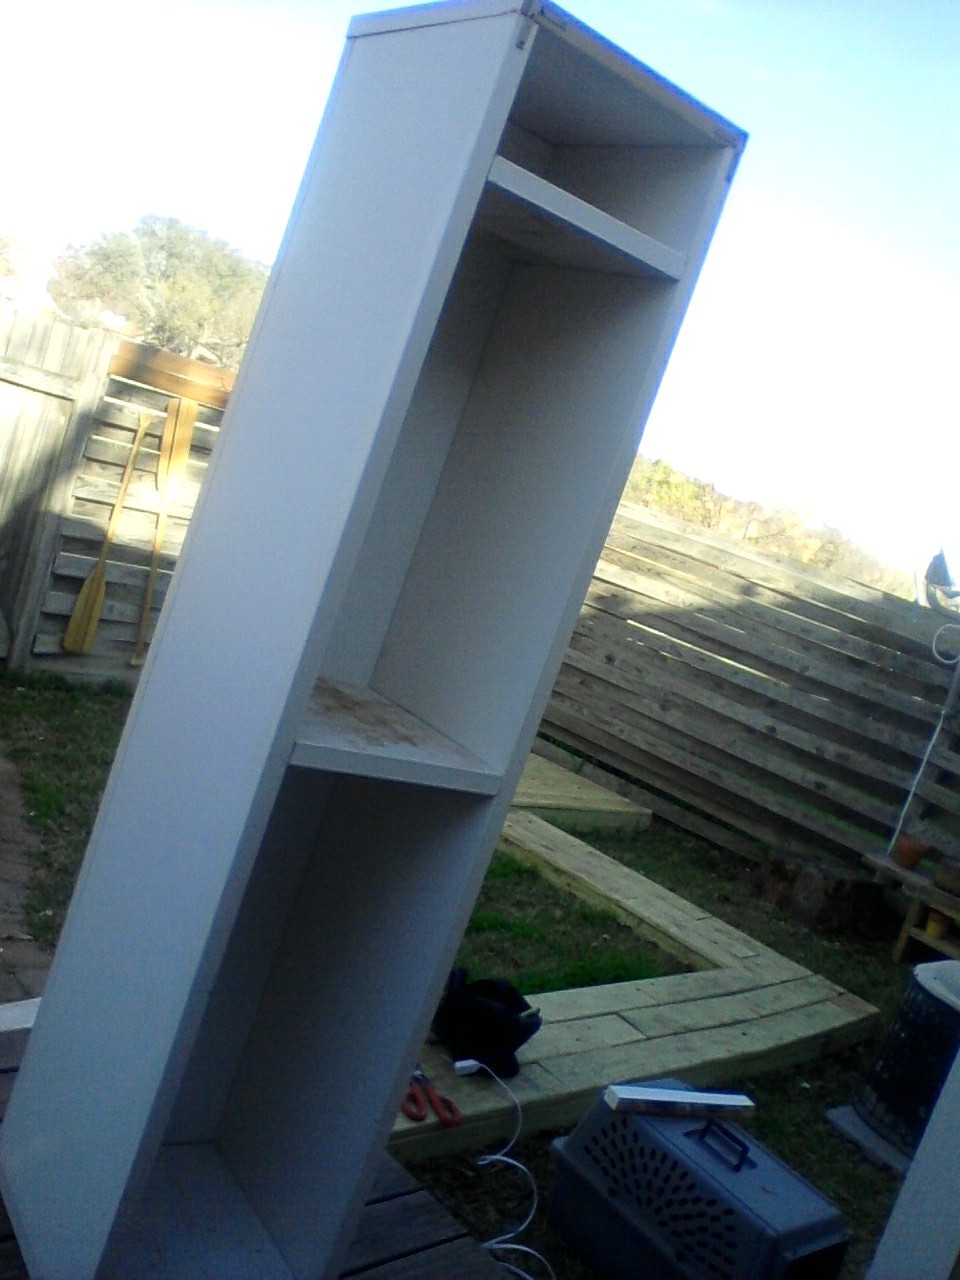 |
| "L" brackets at top/bottom bases provide reinforcement |
You can now stand it up if desired.
(9) Use pegs to place your new interior shelves (or use 1 ¼”
inch screws). Just make sure your
measurements are even. If you use pegs,
you’ll have to pre-drill holes slightly smaller than the peg width so that the
peg fits nice and tight.
(10) Install a wood pole in the interior of your stand-alone
closet and cut it slightly less (about 1/8 of an inch less) than the interior side-to-side
length. The wood pole usually costs about $3 for a 36” piece or you may want to get creative and
find something around the house. Use
pole-closet brackets/sockets (they will not cost more than $4 for a set) and attach them
to the sides of the interior panels (again, make sure they are placed evenly and ensure their placement allows for your shirts to flow freely).
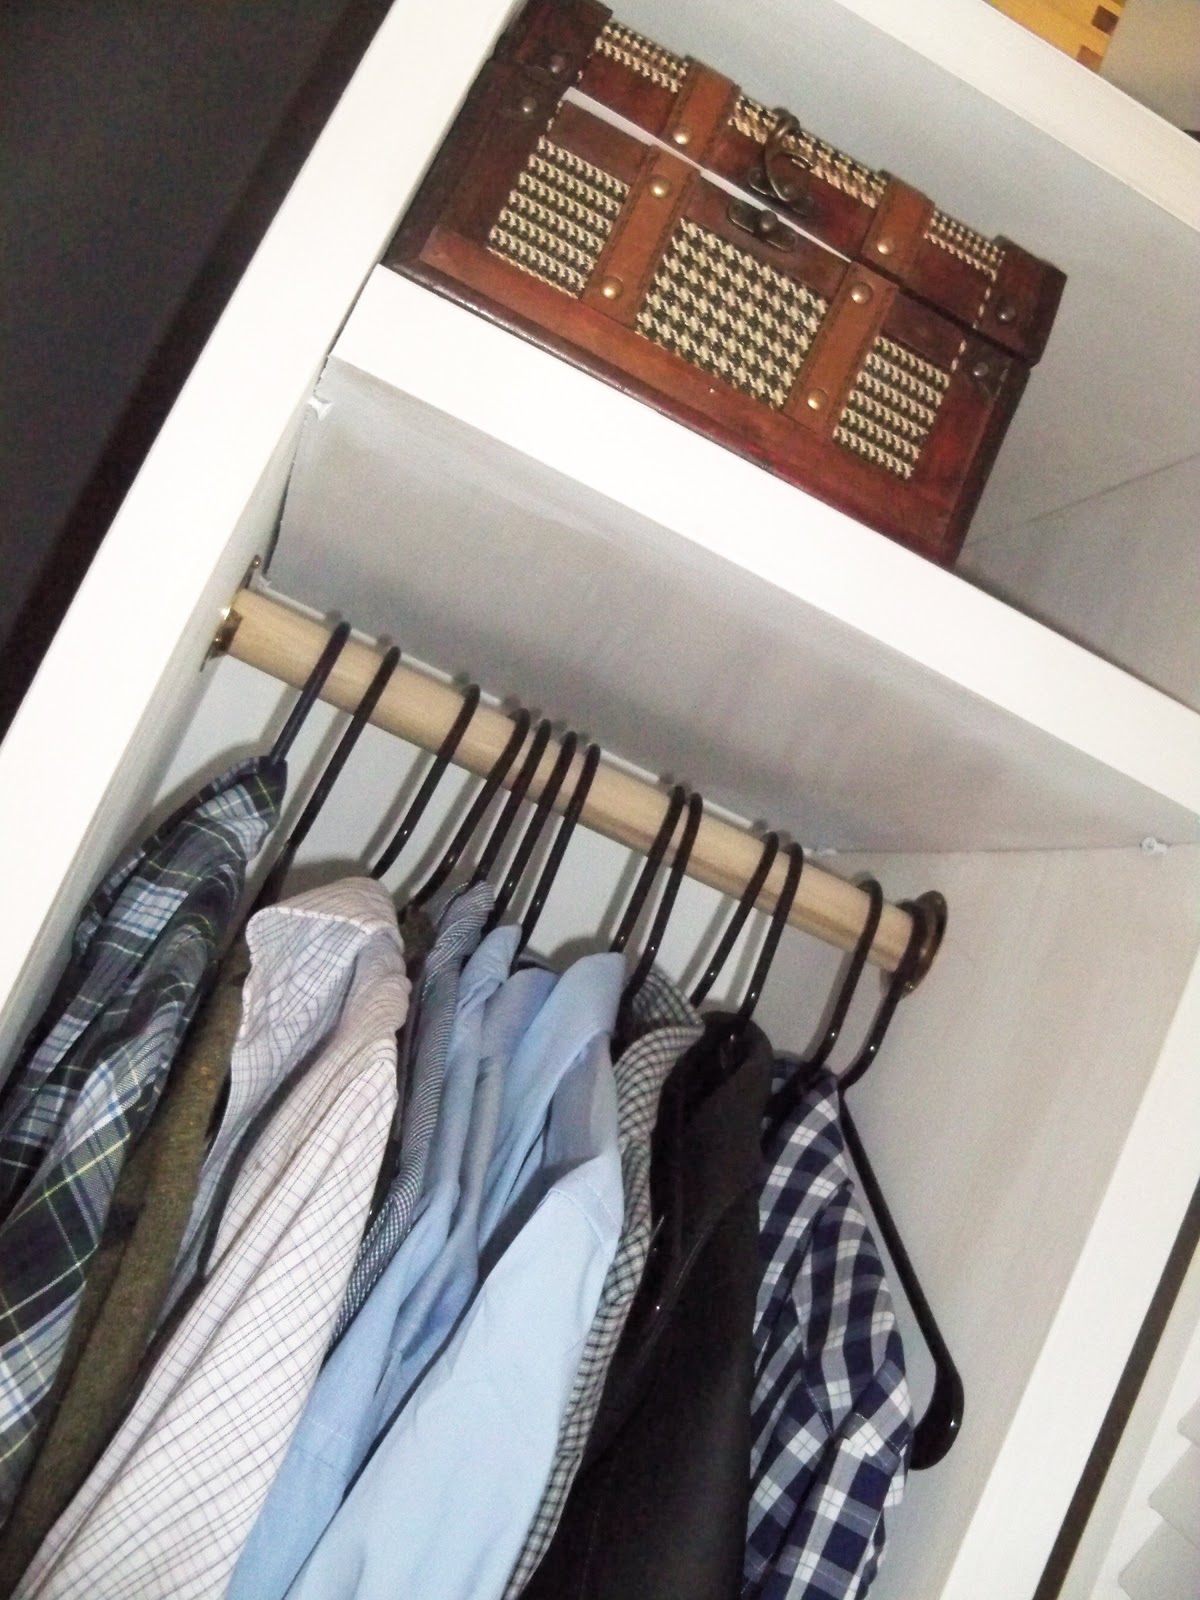
You now have a functional stand-alone closet, retro-modern shelf, or
pantry.
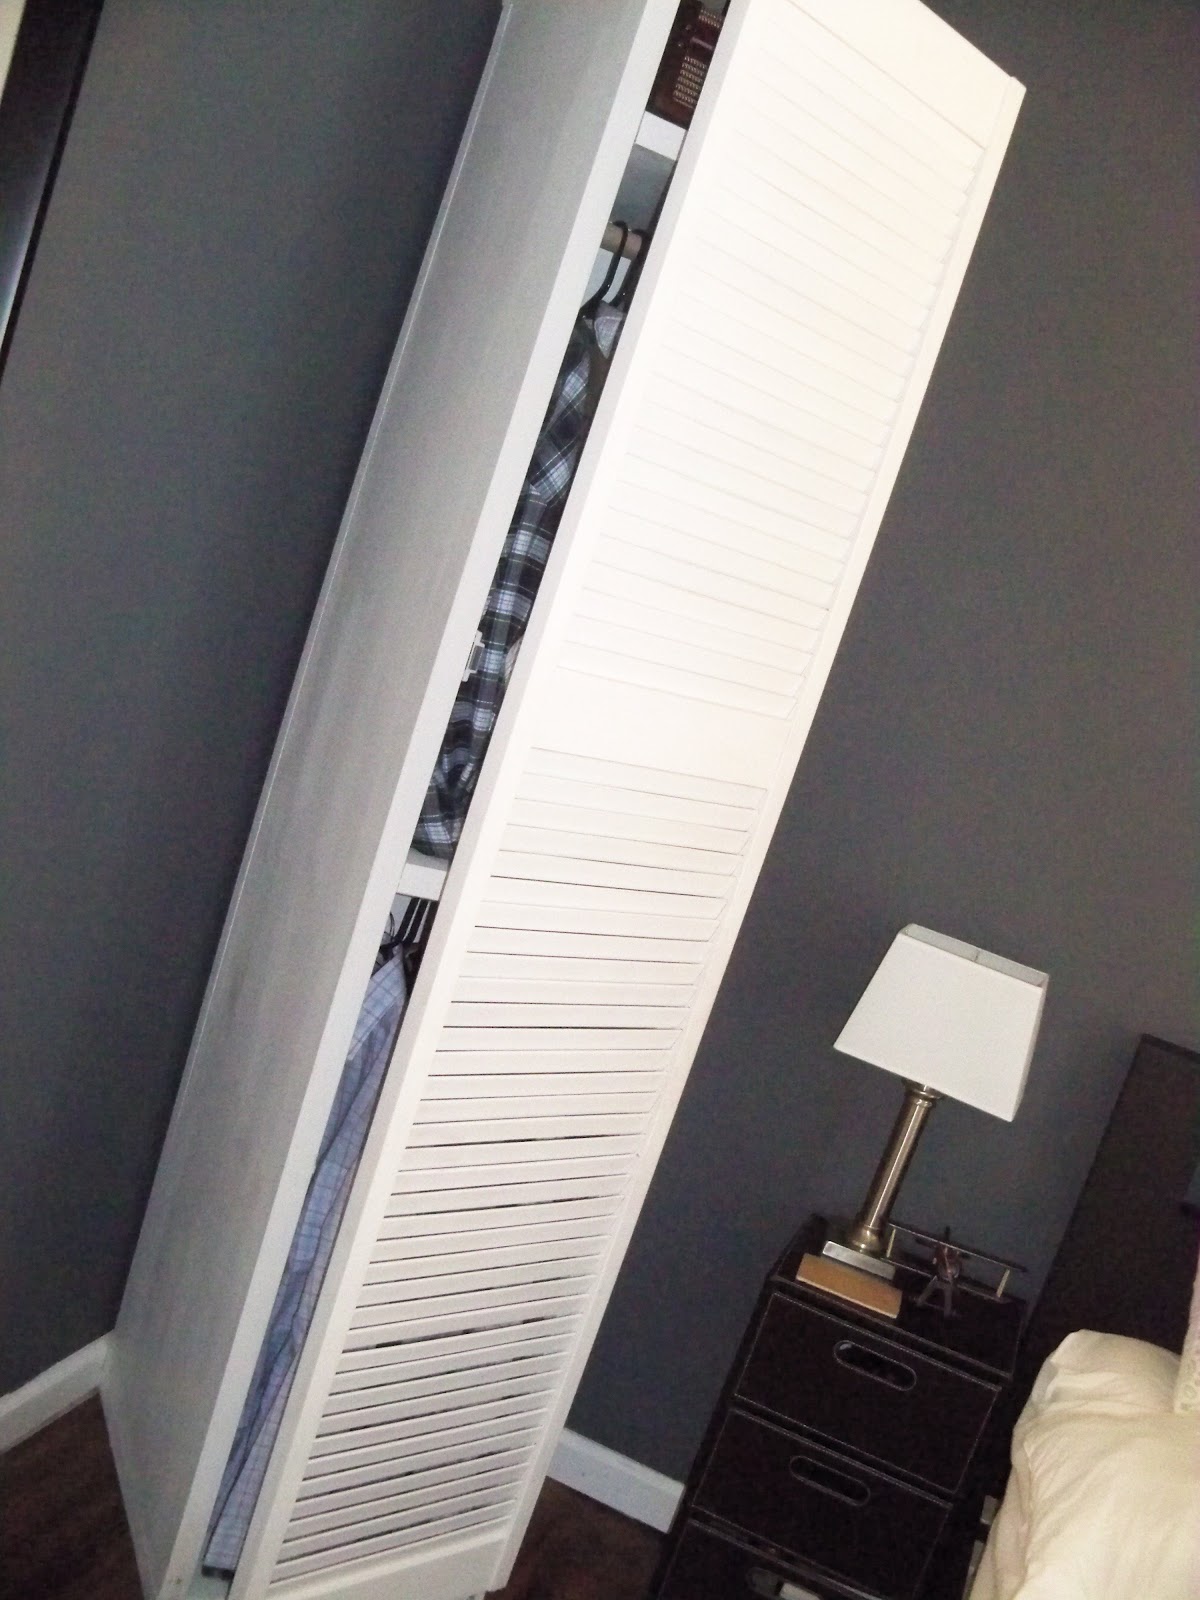
Because I liked my stand-alone closet quite a bit and because I wanted it to match my other bi-fold plantation shutter closet doors, I added its own plantation shutter door to it. And, this is where an
extra-scuffed plantation shutter door in the bargain rack did the trick ($12).
I installed the door with two simple hinges and added a
magnetic door hinge to make sure it shuts tight. The hinge installation requires no real-skill
unless you want them hidden (in which case you may have to shave some of the
interior wood).
Cost
Old Doors/Panels = Free
Hinges = $1 x 2 = $2
Magnetic Door Lock = $1
Screws = $1
New Plantation Shutter Door = $12
Wood Pole = $3
Wood Pole Sockets = $4
TOTAL: $22
 |
| Retro-Modern Industrial look is also an option. |
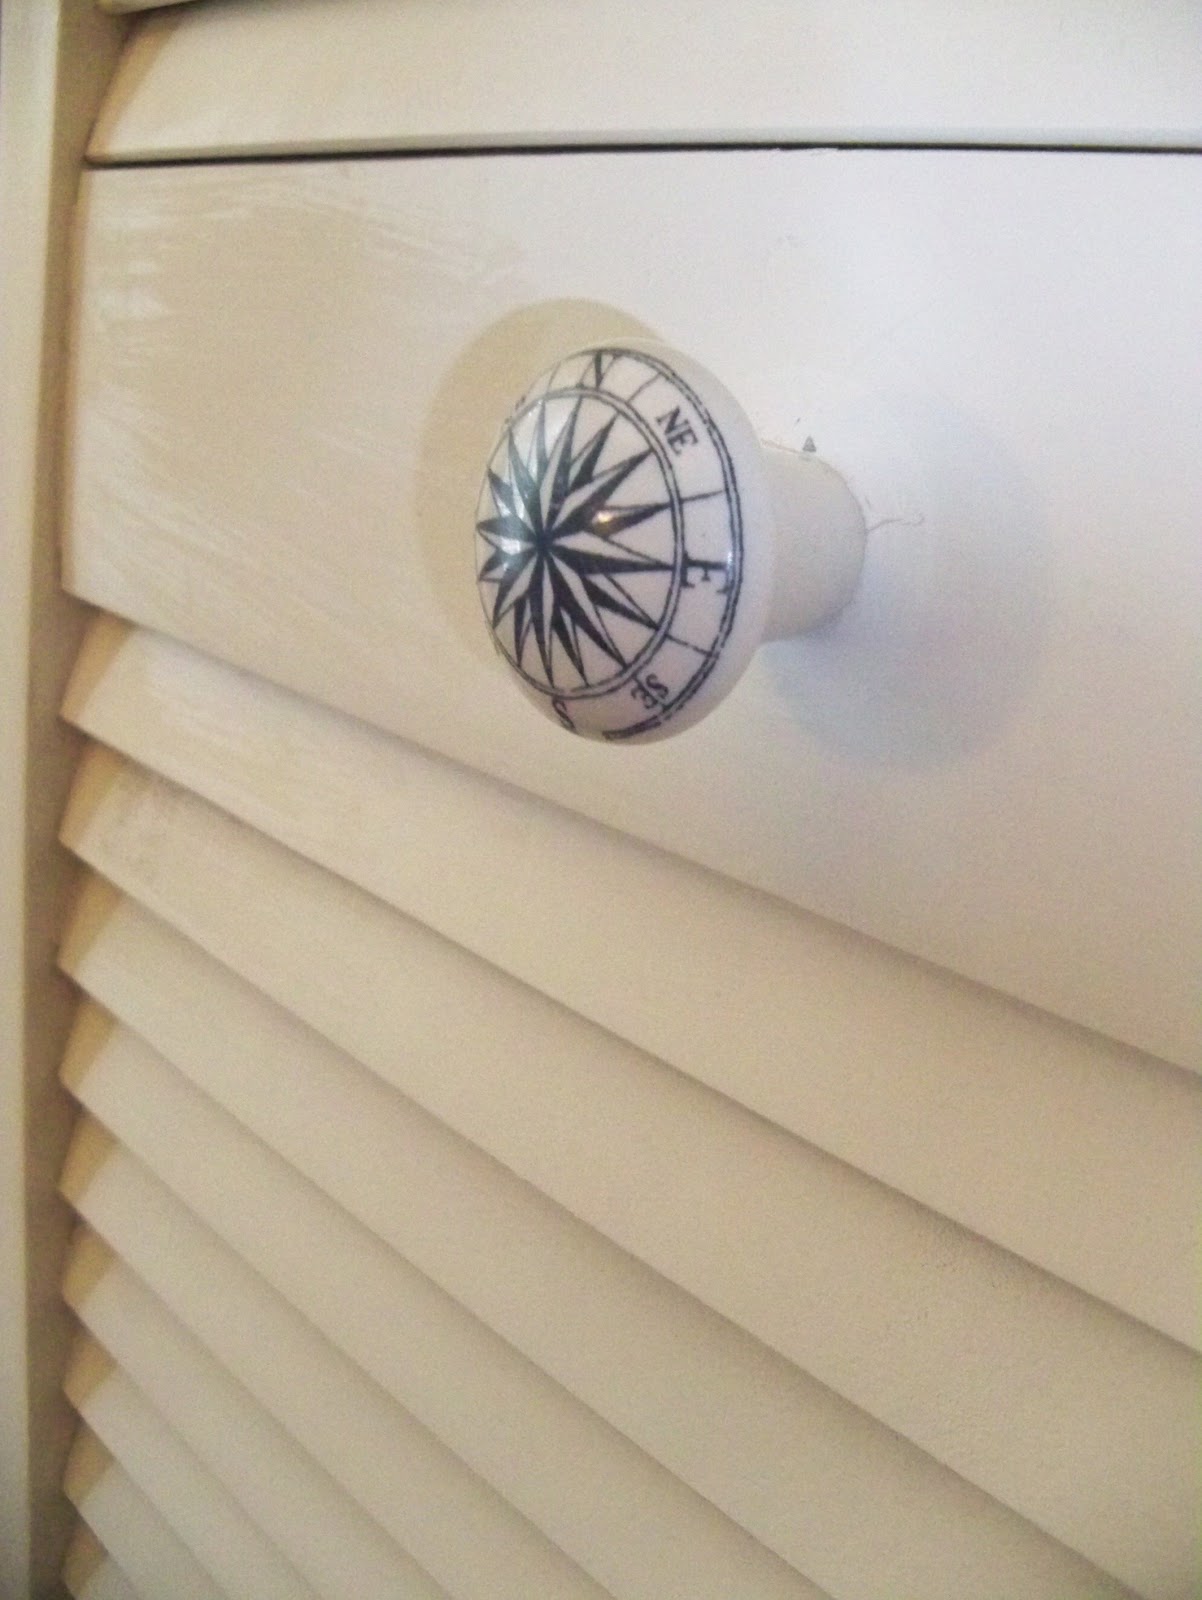
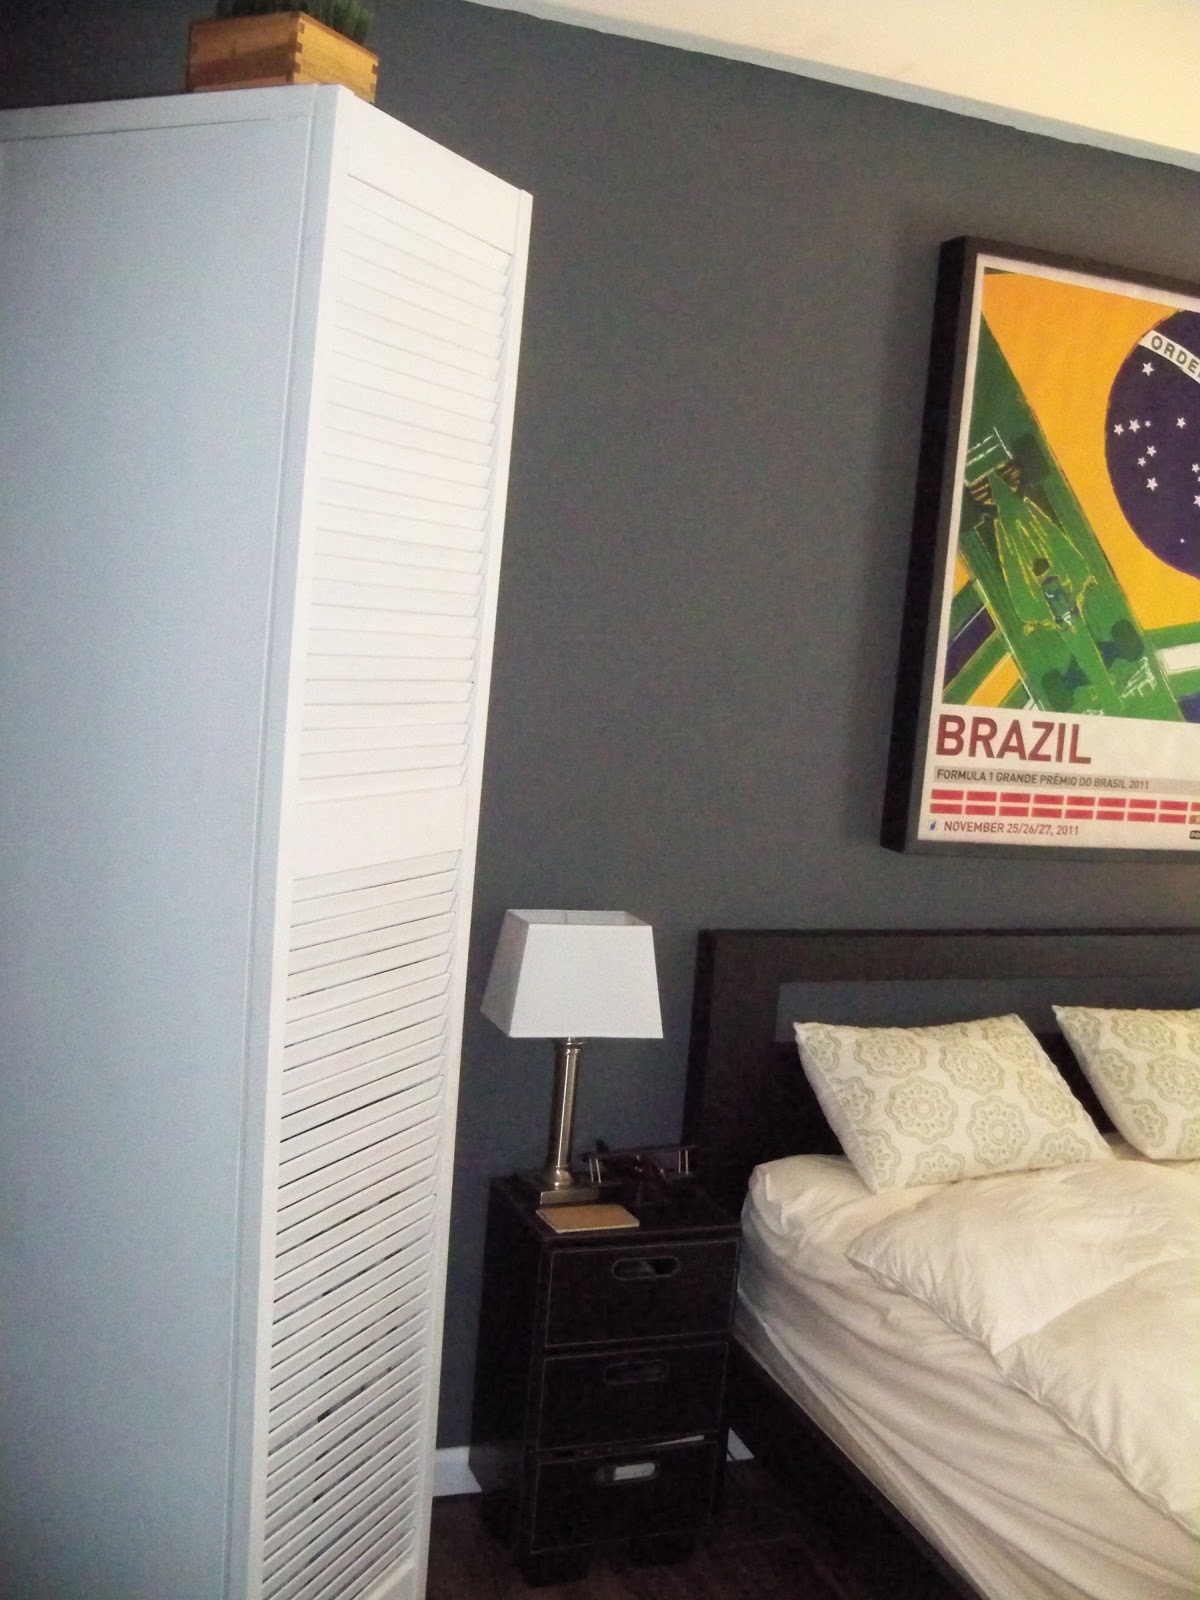
The stand-alone closet also compliments the bedroom's main closet doors and hardware. The ceramic nautical hardware was on sale at .50 cents a piece (as mentioned in a previous blog). The stark white color of the doors nicely compliments the bold grey interior while the subtle accents throughout the room provide a relaxing, nautical feel. The best part of the new gentlemen's closet is that I don't have to worry about clothes and boxes falling on me now that I have a bit more storage space!

No comments:
Post a Comment